Use Azure OpenAI with Python
In the previous blog post, we explored the power of Jupyter Notebook within Visual Studio Code. Today, our focus shifts to Azure OpenAI services. We will explore how we can quickly set up a Jupyter Notebook that showcases how we can use Python and AI Orchestrators to get back some meaningful results.
Azure Resources
To follow up with the examples below, you need to have an Azure OpenAI service deployed in your Azure Subscription. To create a new, or to check if you have already one deployed, you can go to the Azure Portal and then enter openai in the top search bar. This will return a list of OpenAI Services deployed in your subscription; if any. If you have no OpenAI Service deployed, you can click on the Create button to deploy a new one.

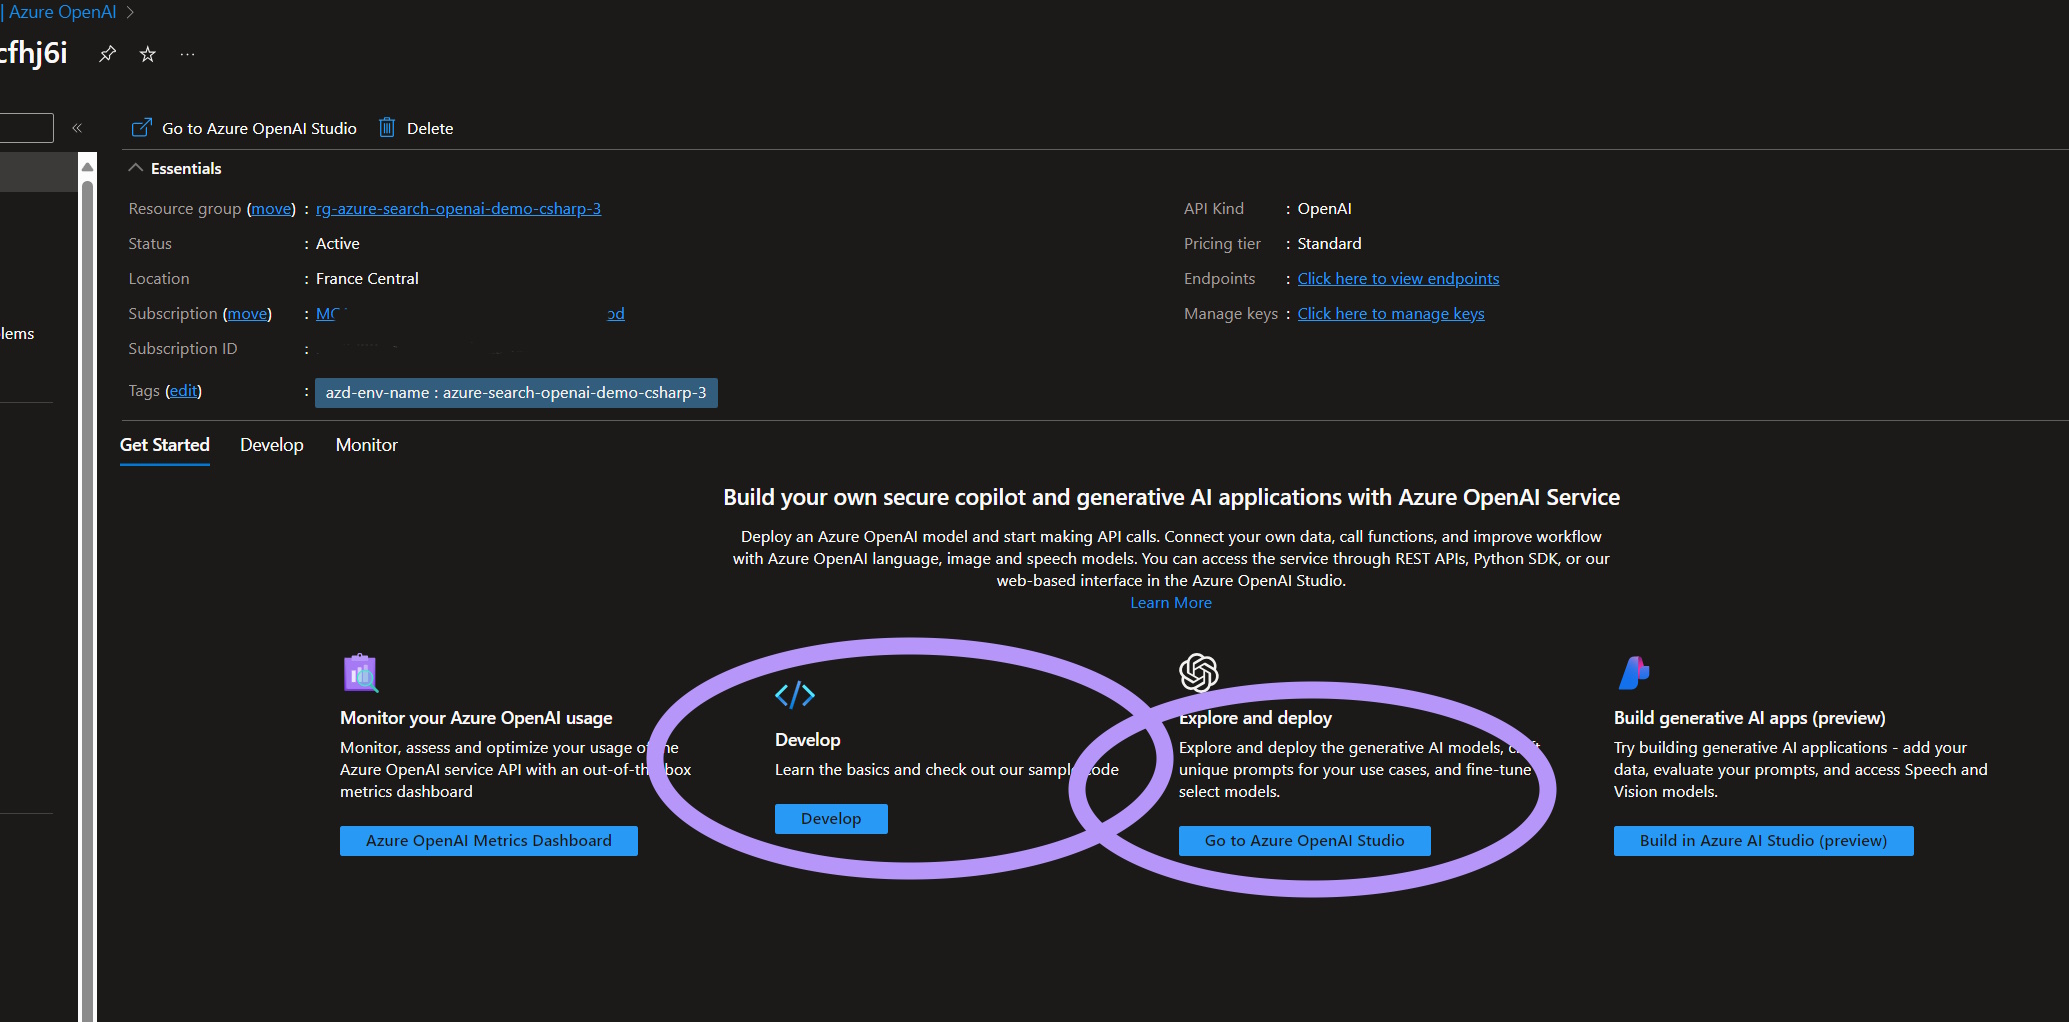
Once you have your Azure OpenAI resource available, click on it, and on the Overview page you can click on the Develop area to copy some info you are going to need later; namely:
- the authentication key (for instance KEY 1)
- the endpoint
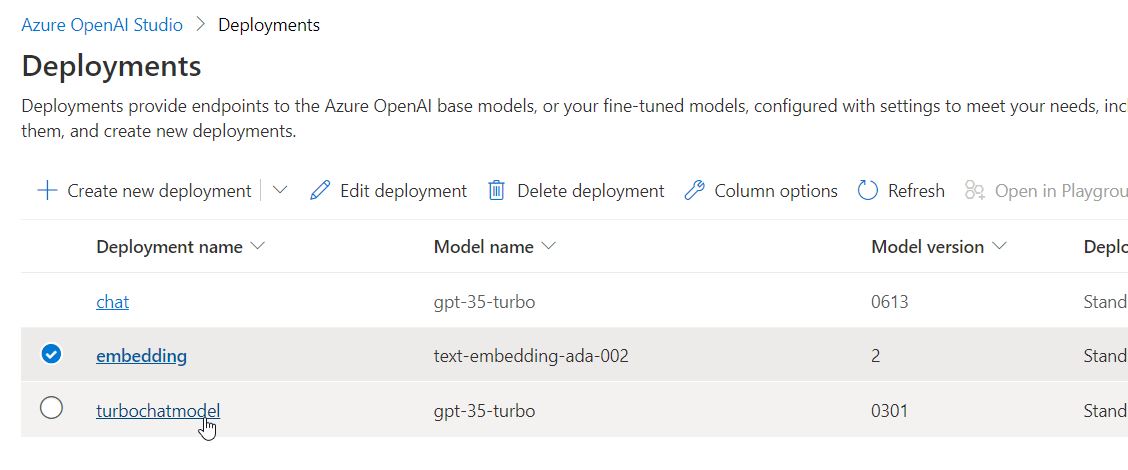
After you copy the required values, you can open the OpenAI Studio, to deploy the required models. Once you are inside OpenAI Studio you will need to check if you already have the required deployments or if you need to create them. You will need a completions model gpt-35-turbo with version 301 and an embeddings model text-embedding-ada-002 with version 2, as shown below.
Visual Studio Code
Now that we have the required Azure resources available, let’s see what we need to do in VSCode, to create some basic Python samples that will use the Azure OpenAI service.
Define necessary environment variables
Let’s start by defining our environment variables. With Jupyter Notebooks, it’s really handy to define all the environment variables in a .env file. A sample of the file (that you need to rename to .env) can be found in the samples repo. Change all the values surrounded with angle brackets with your deployment’s values.
1
2
3
4
5
6
7
8
9
10
11
AZURE_OPENAI_API_VERSION = "2023-09-01-preview"
AZURE_OPENAI_EMBEDDING_API_VERSION = "2023-05-15"

AZURE_OPENAI_API_KEY = "<YOUR AZURE OPENAI API KEY - If using Azure AD auth, this can be left empty>"
AZURE_OPENAI_ENDPOINT = "<YOUR AZURE OPENAI ENDPOINT>"

AZURE_OPENAI_COMPLETION_MODEL = "gpt-35-turbo"
AZURE_OPENAI_COMPLETION_DEPLOYMENT_NAME = "<YOUR AZURE OPENAI COMPLETIONS DEPLOYMENT NAME - e.g. gpt-35-turbo>"

AZURE_OPENAI_EMBEDDING_MODEL = "text-embedding-ada-002"
AZURE_OPENAI_EMBEDDING_DEPLOYMENT_NAME = "<YOUR AZURE OPENAI EMBEDDINGS DEPLOYMENT NAME - e.g. text-embedding-ada-002>"
Create a Jupyter Notebook and define a new Conda Environment
Create the notebook
Hit Ctrl+shift+P to open the command pallet and write New Jupyter Notebook. Rename the untitled-1.ipynb to something meaningful (i.e. openai-python-sample.ipynb).
On the top right corner of the Jupyter Notebook there is a Select Kernel option, which when clicked, opens the kernel selection command pallette as shown below:
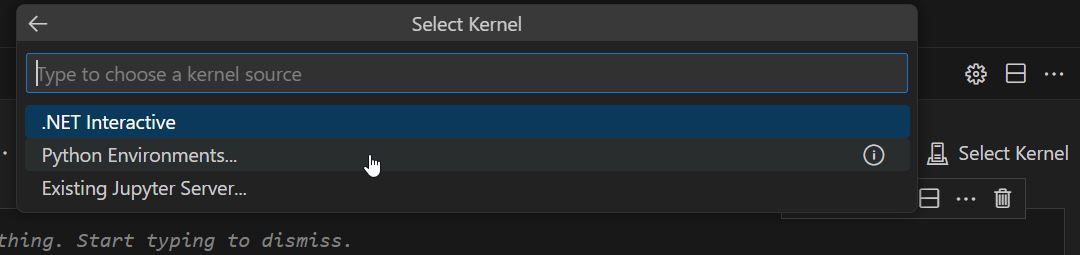
There we need to select Python Environment and then a new list will open with all the existing environments as below.
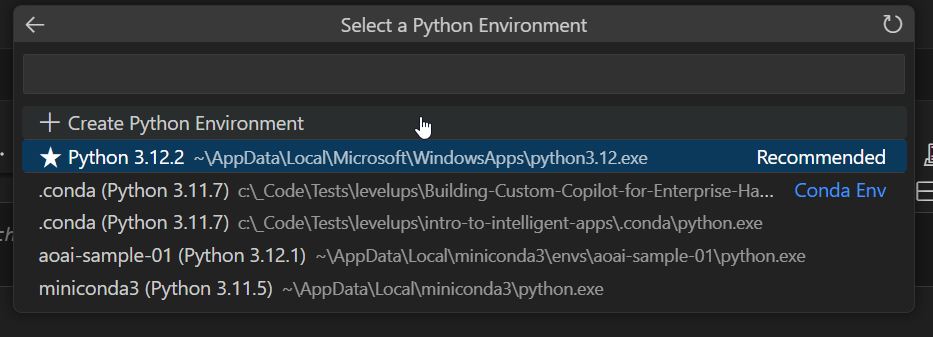
If we do not have a suitable environment we can select the first option + Create Python Environment which will direct you to create a local Conda environment inside your working directory.
Create a new Conda Environment
To avoid the creation of a .conda local python environments you should alternatively create a suitable environment with conda.
If you are working on a windows 11 machine, you first need to open the Anaconda Powershell Prompt.
Then you can run conda env list to list all the existing conda environments.

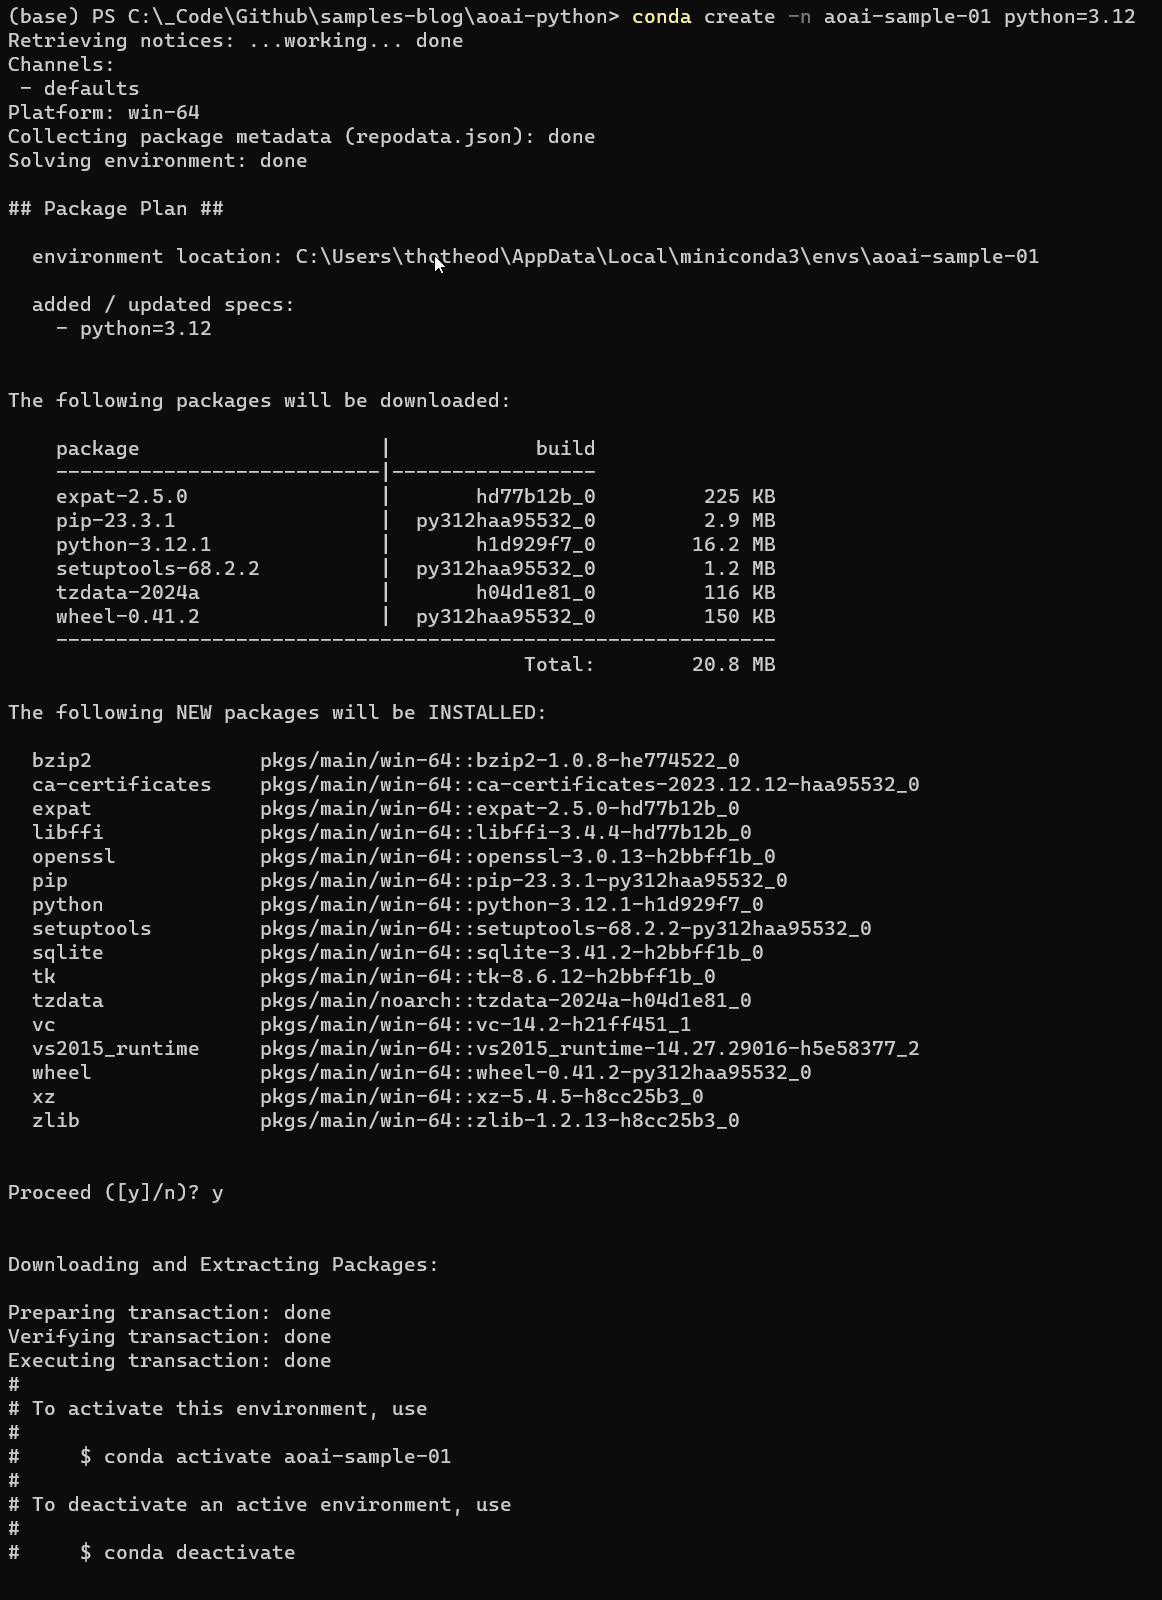
If you find no suitable environment, you can create a new one with the command conda create -n ANY_ENV_NAME python=3.11; the python=3.11 argument can be omitted if you do not need to specify a Python version. Once the environment is created you will be asked if you agree to download some packages; you need to answer y to proceed.
In conda docs you can find this useful conda cheat sheet.
Now you can use the newly created environment for your Notebook, instead of using the base or creating a new local conda env.
Install extra packages that wil be required
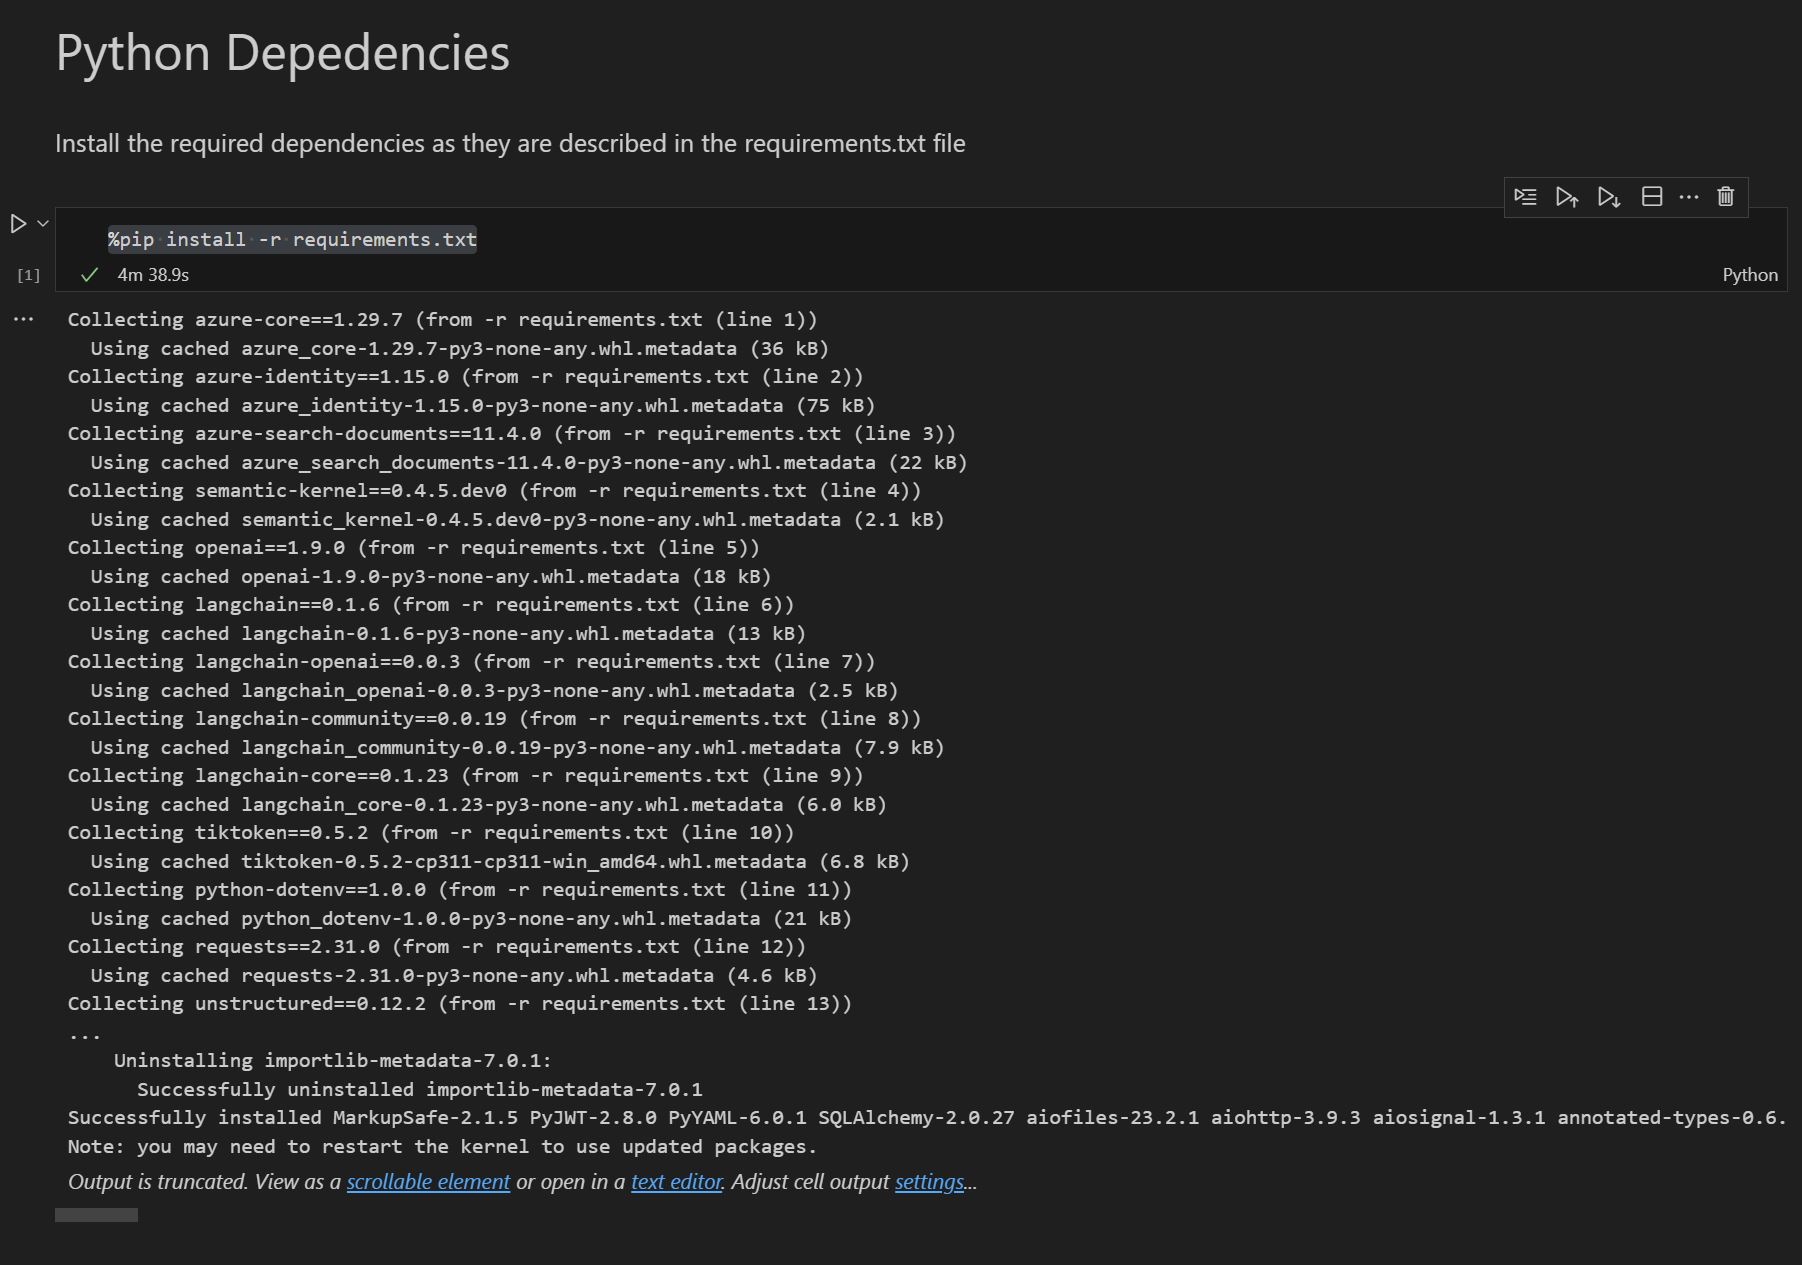
In Python we can specify the dependencies required by a project, with a requirements.txt file which lists the names and versions of Python packages that are needed for the project to run successfully.
Inside the notebook, in a code segment, you can run %pip install -r requirements.txt to install all the required packages, as shown below.
Use OpenAI API
Let’s explore now how we can call directly the Azure OpenAI APIs with Python, from a notebook. As we have said one of the nice things the Jupyter Notebooks have, is that you can mix “areas” with markdown and Python snippets.
Load the .env environment variable values
Python has a dotenv module, which is typically used to load environment variables from a .env file into the Python environment. To that, we need to import the load_dotenv function from the dotenv module and use it as shown below:
1
2
3
4
5
6
7
8
9
10
11
12
13
14
15
16
17
import os       # Import the os module to work with the operating system

# Import the load_dotenv function from the dotenv module to load environment variables from a .env file
from dotenv import load_dotenv

# Load environment variables from a .env file. If successful, print the Azure OpenAI API endpoint
if load_dotenv():
    print("Azure OpenAI API Base: " + os.getenv("AZURE_OPENAI_ENDPOINT"))
else:
    # If the .env file could not be loaded, print a message indicating that the Azure OpenAI API endpoint was not found
    print("Azure OpenAI API Endpoint not found.")

# Get the values of the environment variables
AZURE_OPENAI_API_KEY = os.getenv("AZURE_OPENAI_API_KEY")
AZURE_OPENAI_API_VERSION = os.getenv("AZURE_OPENAI_API_VERSION")
AZURE_OPENAI_ENDPOINT = os.getenv("AZURE_OPENAI_ENDPOINT")
AZURE_OPENAI_COMPLETION_DEPLOYMENT_NAME = os.getenv("AZURE_OPENAI_COMPLETION_DEPLOYMENT_NAME")
Issue the openAI API http request
Once we have initialized correctly our environment variables, we need to construct the OpenAI request URL and call it using the requests module. Details on how we call the OpenAI API can be found in the documentation. The code below demonstrates how we call the API and how we json parse the response:
1
2
3
4
5
6
7
8
9
10
11
12
13
14
15
16

import json     # Import the json module to work with JSON data
import requests # Import the requests module to send HTTP requests

# Construct the API Url
url = AZURE_OPENAI_ENDPOINT + "/openai/deployments/" + AZURE_OPENAI_COMPLETION_DEPLOYMENT_NAME + "/chat/completions?api-version=" + AZURE_OPENAI_API_VERSION

# Debug print the URL
print(f'Remote OpenAI API chat completion URL: {url}')

# Issue the http request
r = requests.post(url, headers={"api-key": AZURE_OPENAI_API_KEY}, json={"messages":[{"role": "user", "content": "tell me a quick joke"}]})

# parse and print the API response
print(json.dumps(r.json(), indent=2))
Explore the API Response
The snippet below is a sample response from the Azure OpenAI API. Among others, some important bits we need to know are:
- model: The model that was used to generate the response to the prompt. In our case
gpt-35-turbo - content: The response that was generated by the OpenAI model.
- finish_reason: This is the reason that the model stopped generating the response. That could be because it hit some limit. In this case,
stopindicates the model determined it had fully completed. - completion_tokens: The number of tokens that were used in generating the response
- prompt_tokens: The number of tokens that were consumed by the prompt
- total_tokens:
prompt_tokens+completion_tokens
1
2
3
4
5
6
7
8
9
10
11
12
13
14
15
16
17
18
19
20
21
22
23
24
25
26
27
28
29
30
31
32
33
34
35
36
37
38
39
40
41
42
43
44
45
46
47
48
49
50
51
52
53
54
55
56
57
58
59
60
61
62
63
{
  "id": "chatcmpl-8wnfkbSJHs2lqruAO3zSZ15Pe5gzB",
  "object": "chat.completion",
  "created": 1709024656,
  "model": "gpt-35-turbo",
  "prompt_filter_results": [
    {
      "prompt_index": 0,
      "content_filter_results": {
        "hate": {
          "filtered": false,
          "severity": "safe"
        },
        "self_harm": {
          "filtered": false,
          "severity": "safe"
        },
        "sexual": {
          "filtered": false,
          "severity": "safe"
        },
        "violence": {
          "filtered": false,
          "severity": "safe"
        }
      }
    }
  ],
  "choices": [
    {
      "finish_reason": "stop",
      "index": 0,
      "message": {
        "role": "assistant",
        "content": "Why don't scientists trust atoms? Because they make up everything!"
      },
      "content_filter_results": {
        "hate": {
          "filtered": false,
          "severity": "safe"
        },
        "self_harm": {
          "filtered": false,
          "severity": "safe"
        },
        "sexual": {
          "filtered": false,
          "severity": "safe"
        },
        "violence": {
          "filtered": false,
          "severity": "safe"
        }
      },
      "logprobs": null
    }
  ],
  "usage": {
    "prompt_tokens": 13,
    "completion_tokens": 13,
    "total_tokens": 26
  }
}
Use OpenAI module (Python)
Next we are going to issue the same request to Azure OpenAI, but without using the http request directly. Instead, we will use the Python openai library, which as we will see, simplifies somehow our code. To do that (on top of what we have done in the previous steps) we need to import the AzureOpenAI class from the openai module. Below is the python snippet.
1
2
3
4
5
6
7
8
9
10
11
12
13
14
15
16
17
18
19
20
21
22
23
# Import the AzureOpenAI class from the openai module
from openai import AzureOpenAI

# Create an instance of the AzureOpenAI class, passing in the Azure endpoint, API key, and API version from environment variables
client = AzureOpenAI(
    azure_endpoint = os.getenv("AZURE_OPENAI_ENDPOINT"),
    api_key = os.getenv("AZURE_OPENAI_API_KEY"),
    api_version = os.getenv("AZURE_OPENAI_API_VERSION")
)

# Call the chat.completions.create method on the client object, passing in the model name from an environment variable and a list of messages
response = client.chat.completions.create(
    model = os.getenv("AZURE_OPENAI_COMPLETION_DEPLOYMENT_NAME"),
    messages = [{"role" : "assistant", "content" : "Tell me a quick joke"}],
)

# Print the response from the API call
print('Response: ' + response.choices[0].message.content)
print(response.usage)

# print:
# Response: Why did the tomato turn red? Because it saw the salad dressing!
# CompletionUsage(completion_tokens=14, prompt_tokens=13, total_tokens=27)
The OpenAI library makes it simpler to use the OpenAI API. After we’ve set things up at the start, we don’t have to keep sending the same details every time, like we would with a direct API call. It’s also easier to include extra info, like prompts, in the call. We can just pass these values directly when we use the OpenAI library methods, instead of having to include them as part of the request body in JSON format.
Use Langchain
LangChain simplifies the process of building applications powered by large language models. It supports Python and Javascript / Typescript, but in this post, we focus on Python.
First we need to import the necessary packages:
1
2
3
from langchain.llms import AzureOpenAI          # add AzureOpenAI class that provides methods to interact with Azure's OpenAI services
from langchain_openai import AzureChatOpenAI    # add AzureChatOpenAI class that provides methods to facilitate chat-based interactions with Azure's OpenAI
from langchain.schema import HumanMessage       # add HumanMessage class that structures the messages that are sent to and received from the AI in a human-readable format
Then we need to configure the Langchain client with the necessary environment variables for Azure OpenAI. The code below demonstrates how to do that:
1
2
3
4
5
6
# Create an instance of Azure OpenAI
llm = AzureChatOpenAI(
    azure_deployment = os.getenv("AZURE_OPENAI_COMPLETION_DEPLOYMENT_NAME")
)

print("AZURE_OPENAI_COMPLETION_DEPLOYMENT_NAME: " + os.getenv("AZURE_OPENAI_COMPLETION_DEPLOYMENT_NAME"))
Now we can use the Langchain client to send a message to the AI and receive a response. The code below demonstrates how to do that:
1
2
3
4
5
6
7
8
9
10
11
12
# Define the prompt
msg = HumanMessage(content="Tell me short story")

# Call the API
r = llm.invoke([msg])

# Print the response
print(r.content)

# Once upon a time, there was a little girl named Lily who lived in a small village. She loved ....
# ..... and she spent the rest of her days helping animals in need and exploring the wonders of the natural world.
Final Thoughts
Langchain offers a unique approach to utilizing AI models. Instead of relying solely on basic APIs or SDK packages, it simplifies the process by providing a standard interface for interacting with various language models. One of its standout features is ‘chaining’. This feature enhances the development process by enabling the “chaining” of multiple calls, whether they’re directed towards a large language model (LLM), a tool, or a data preprocessing step.
The framework and libraries of Langchain streamline the integration process. This allows developers to concentrate on crafting innovative applications that harness the power of large language models. In short, Langchain is a valuable addition to any AI developer’s toolbox.